SSO (Single Sign-On)
Polytomic's default on-premise login mechanism is Google OAuth. This document describes how to enable OpenID Connect and SCIM for enterprise SSO.
OIDC
You can configure OIDC at two scopes:
- Per-organization OIDC applies to a single Organization. Use this when different Organizations sign in through different identity providers.
- Deployment-wide OIDC applies to every Organization and is configured with environment variables. Use this for a single-tenant deployment, or when every Organization shares one identity provider.
Deployment-wide OIDC
Deployment-wide OIDC routes every Organization through a single identity provider. You configure it with environment variables in your Polytomic environment rather than with ptctl.
Set the following three variables and restart Polytomic:
OIDC_ISSUER: the URL of your OIDC identity provider, obtained from your SSO provider's console (e.g.https://dev-61270112.okta.com).OIDC_CLIENT_ID: obtained from your SSO provider's console.OIDC_CLIENT_SECRET: obtained from your SSO provider's console.
When you configure the client in your SSO provider's console, use [polytomic_base_url]/oidc/connect as the redirect (callback) URL.
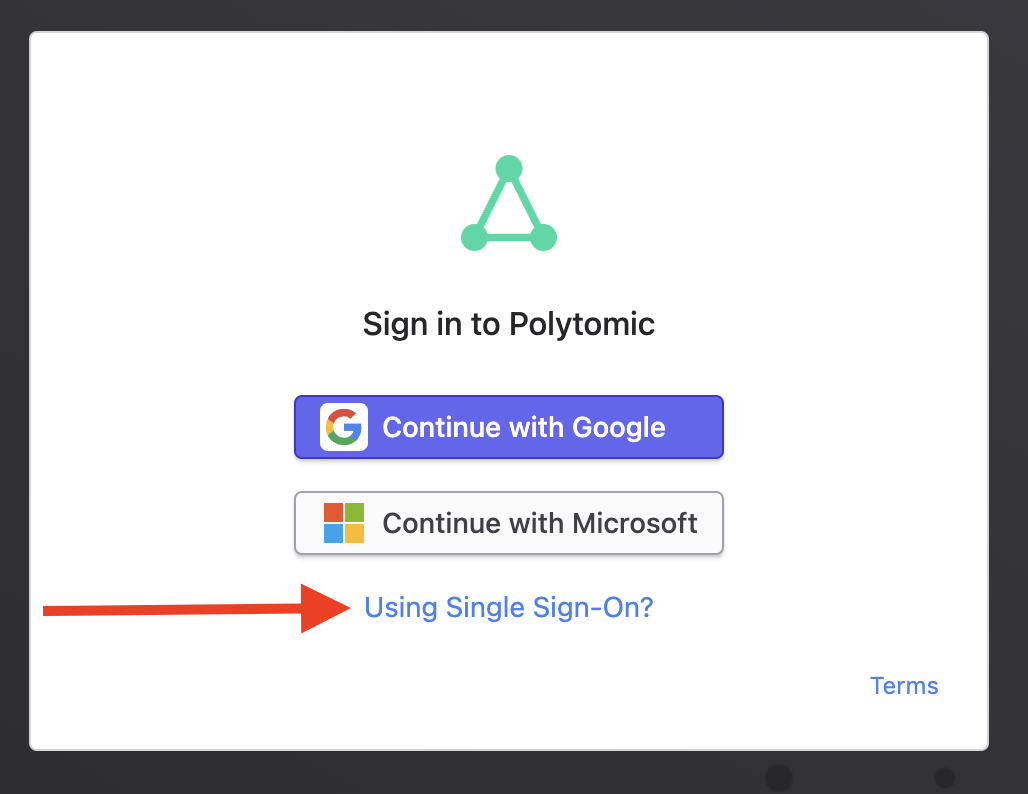
On the login screen, users sign in by clicking Continue with SSO, which sends them directly to your identity provider.
Deployment-wide OIDC is always available once configuredYou do not need apply per organization configuration when using deployment-wide OIDC. As soon as the three variables are set, the deployment OIDC option applies to every Organization. If an Organization has SSO configured, it is not used once deployment-wide SSO is enabled.
As with per-organization OIDC, a user must already exist in Polytomic with the matching email address to sign in. Use SCIM to provision users automatically.
Per-organization OIDC
Follow these instructions to enable an SSO provider (e.g. Okta) for an Organization on your Polytomic on-premise instance:
-
Log in to the shell of your Polytomic host.
-
Run this command to obtain the OIDC (OpenID Connect) URL:
ptctl org info --oidc. You will enter the result in your SSO provider's console. -
Enter the URL from (2) in the client configuration in your SSO provider's console to obtain the client ID and secret.
-
Go back to the shell of your Polytomic host and run this command:
ptctl org update.When prompted to update auth methods, select "Yes" and select
oidcas an allowed auth method. If you wish to allow Google OAuth, as well, selectgoogle.When prompted to Configure OIDC SSO, select "yes" and enter the following:
- SSO Domain: the domain of your company (e.g.
mycompany.com). - Issuer: the URL of your OIDC identity provider, obtained from your SSO provider's console (e.g.
https://dev-61270112.okta.com). - Client ID: obtained from your SSO provider's console.
- Client Secret: obtained from your SSO provider's console.
- (Optional) You can disable logging in through Google by unsetting the environment variables
GOOGLE_CLIENT_IDandGOOGLE_CLIENT_SECRETin your Polytomic environment.
- SSO Domain: the domain of your company (e.g.
You'll now be able to log in using your SSO provider by clicking on this link in Polytomic:
SCIM
After enabling OIDC, users still need to be created in Polytomic with the correct email address in order to have access to Polytomic. Alternatively, SCIM allows you to manage Polytomic users directly from your identity provider (e.g., Okta, Auth0, etc).
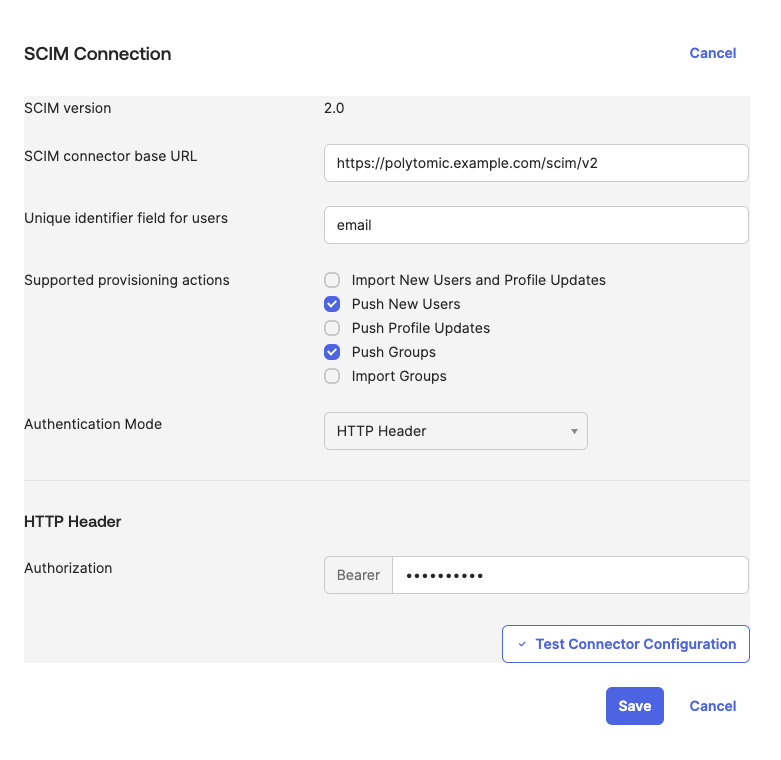
SCIM configuration in Okta.
The SCIM URL for your deployment will be [polytomic_base_url]/scim/v2.
Polytomic uses an API key to authorize SCIM requests. When configuring SCIM select "HTTP Header" as the authorization method and enter your Polytomic API key.
Note that Okta does not support enabling SCIM for OIDC applications. To get around this, you can create a second application to handle provisioning and assign users to that if you wish to use SCIM. Note that the SSO portion does not need to be functional in order for provisioning to work.