

Azure Synapse
Source
Polytomic connects to Azure Synapse using SQL authentication (a username and password). Microsoft Entra ID authentication isn't supported. While not required, we recommend you create a user exclusively for Polytomic so that your audit logs distinguish all Polytomic activity.
-
In the Azure portal, select Synapse workspaces → select the workspace you want to connect to → go to Overview → copy the Dedicated SQL endpoint. This is the Server value in Polytomic.
-
Determine the Database you plan to connect to (for a dedicated SQL pool, this is the pool's name).
-
Allow Polytomic to reach your workspace: in the workspace's Networking settings, add a firewall rule for each of Polytomic's IP addresses.
-
Create a user for Polytomic and save its Username and Password for later use. See Setting up permissions below.
-
In Polytomic, go to Connections → Add connection → Azure Synapse.
-
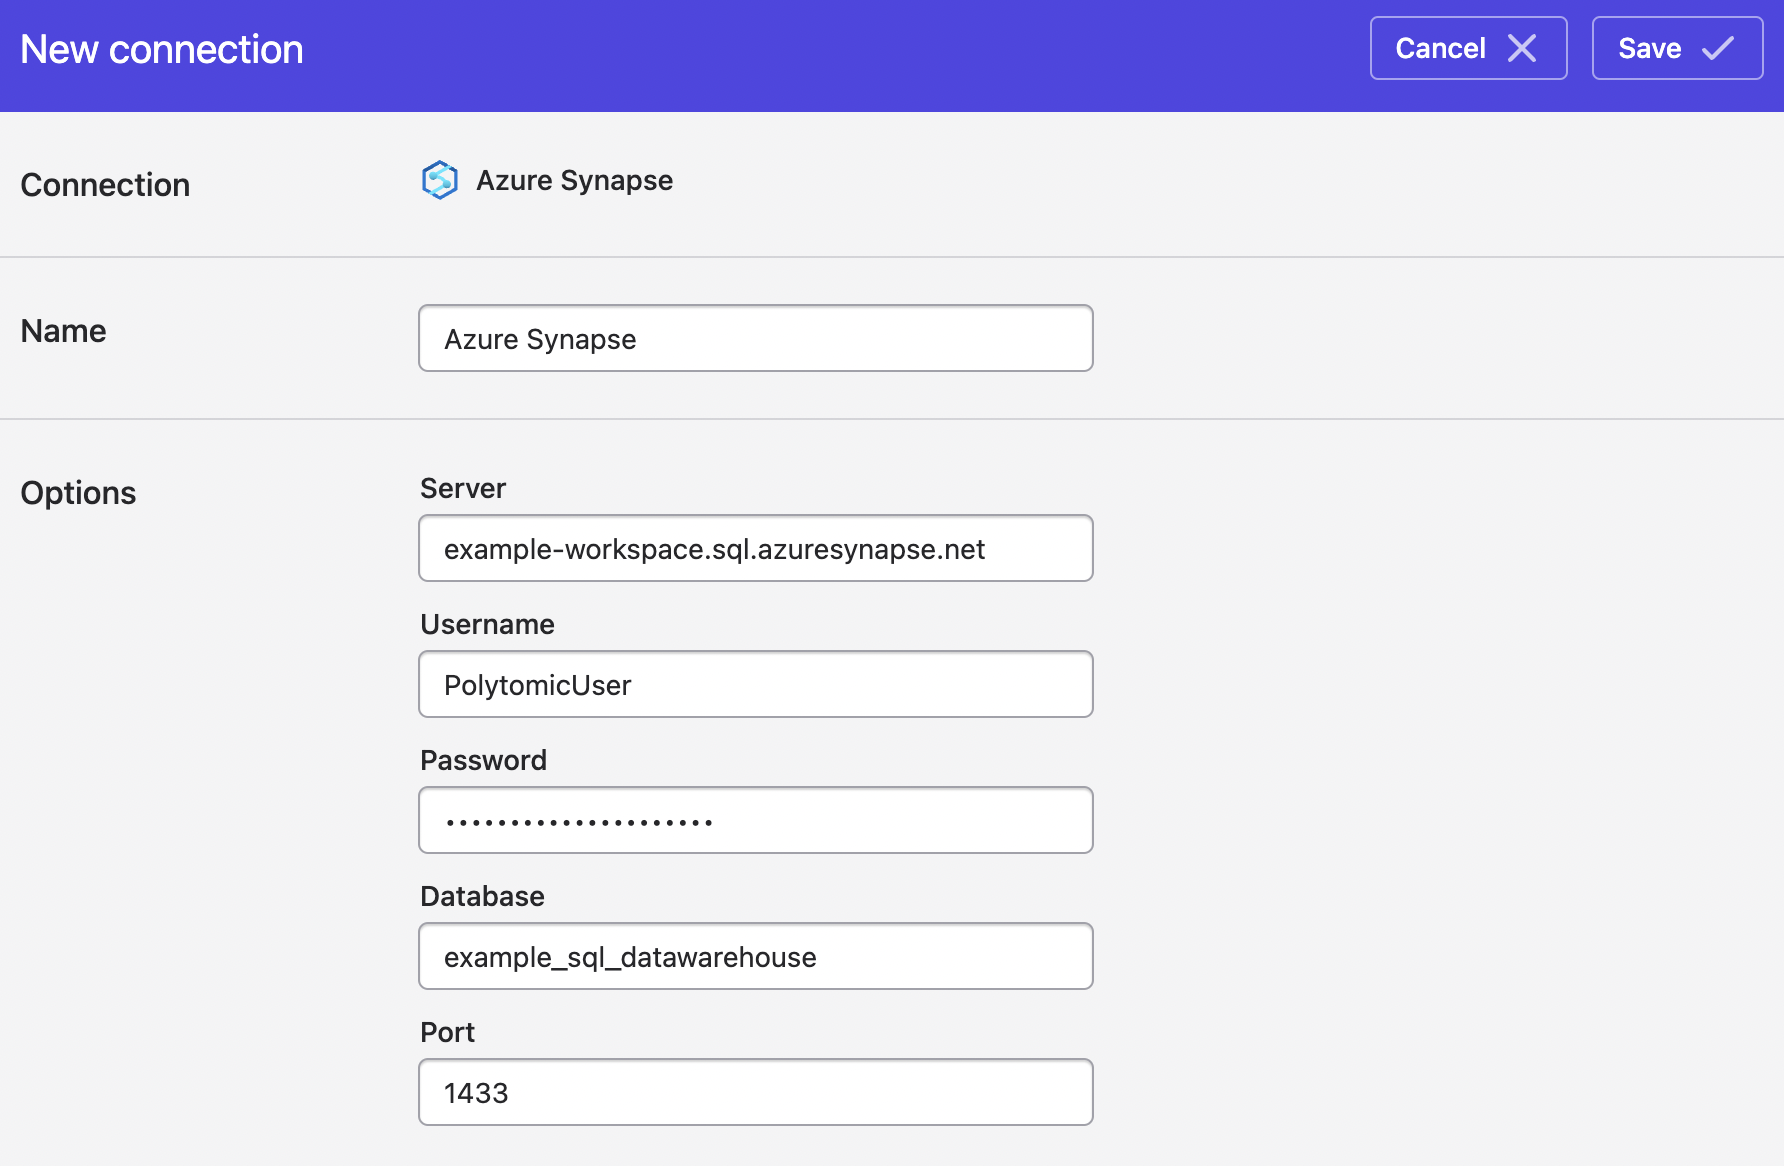
Enter your Azure Synapse credentials in Polytomic's Server, Username, Password, Database, and Port (default
1433) fields.
-
Leave Trust server certificate off. Polytomic always encrypts connections to Azure Synapse and verifies the server's certificate unless this option is checked.
-
Click Save.
Connecting via SSH isn't supported for Azure Synapse.
Setting up permissions
Create a login in the master database:
CREATE LOGIN polytomic_user WITH PASSWORD = '<strong password>';Then, connected to the database you're syncing from, create a user for the login and grant read access:
CREATE USER polytomic_user FOR LOGIN polytomic_user;

-- Grant SELECT on each schema to be synced
GRANT SELECT ON SCHEMA::dbo TO polytomic_user;

-- Allow Polytomic to read table and column metadata
GRANT VIEW DEFINITION TO polytomic_user;
Updated 5 days ago